 LANGUAGE
 English
 Deutsch
 Español
 Français
 русский











Digging Holes with an Auger: Types, Sizing Tips, and Practical Workflow
Picture this: you are building a 40-foot fence line, and the plan calls for nine 8-inch diameter post holes. With a manual post hole digger, each hole takes about 10 minutes of pulling and prying. By the third hole, your shoulders burn, and the hole is still not perfectly vertical. Now switch to a powered earth auger. The same 8-inch hole cuts down to roughly 45 seconds of controlled drilling and clean soil removal.
The takeaway is simple: digging holes with an auger changes the job from pure manual labor into a precise, repeatable process. When the tool is matched to the soil and the bit is chosen correctly, a single operator can finish a full fence line in one afternoon instead of two days. The performance gap is not a gimmick. It comes from how an auger's spiral blade cuts, lifts, and discharges soil in one continuous motion.
This guide covers the practical decisions behind auger hole digging: how to choose the right power source, how to match the bit diameter to your task, and how to avoid the mistakes that frustrate most first-time users.
Why an Auger Beats Manual Digging: Core Mechanics
Start with the conclusion: an auger's advantage is continuous cutting plus continuous soil removal. A manual post hole digger uses two blades to pinch and break soil, but every lift is a separate motion. The weight of the tool and the packed soil work against you. An auger reverses that relationship—the rotating bit does the breaking, and the spiral flights carry cuttings upward without repeated lifting.
Three factors determine whether an auger digs well: rotation speed, torque, and flight pitch. For average clay-loam soil, a gasoline auger around 9 HP with a 2-inch core drive gives you enough torque to keep the bit turning without stalling. When the bit stalls, the operator usually forces downward pressure, which compacts the soil and makes the next rotation even harder.
8–10x
Speed gain vs. manual digging
45 sec
Typical 8x24-inch hole with 9HP auger
3 in
Safe depth per cutting pass
The practical implication is that you should never force the machine. If the engine bogs down, ease off the downward pressure and let the bit clean the hole. This "slow is smooth" rule prevents the bind and sticking that ruin auger bits and slow the whole dig.
Choosing the Right Auger for Your Ground Conditions
Before buying or renting, answer three questions: what diameter do you need, what soil are you cutting, and how many holes will you dig per day. The most common mistake is buying a machine with too much power for a small job, or too little torque for rocky clay.
| Power Source | Best Scenario | Bit Diameter | Advantage | Limitation |
|---|---|---|---|---|
| Manual lever | Soft soil, few holes, small gardens | 3–6 inches | Lightweight, quiet | Inefficient in compacted soil |
| Gasoline engine | Most soil types, medium batches | 4–12 inches | Portable, controllable clutch | Noise, fumes, engine maintenance |
| PTO three-point hitch | Tractor use, hard ground, large batches | 9–24 inches | High torque, stable speed | Requires a tractor |
| Hydraulic / skid-steer | Heavy production, continuous runs | 18–36 inches | Maximum torque | High equipment cost |
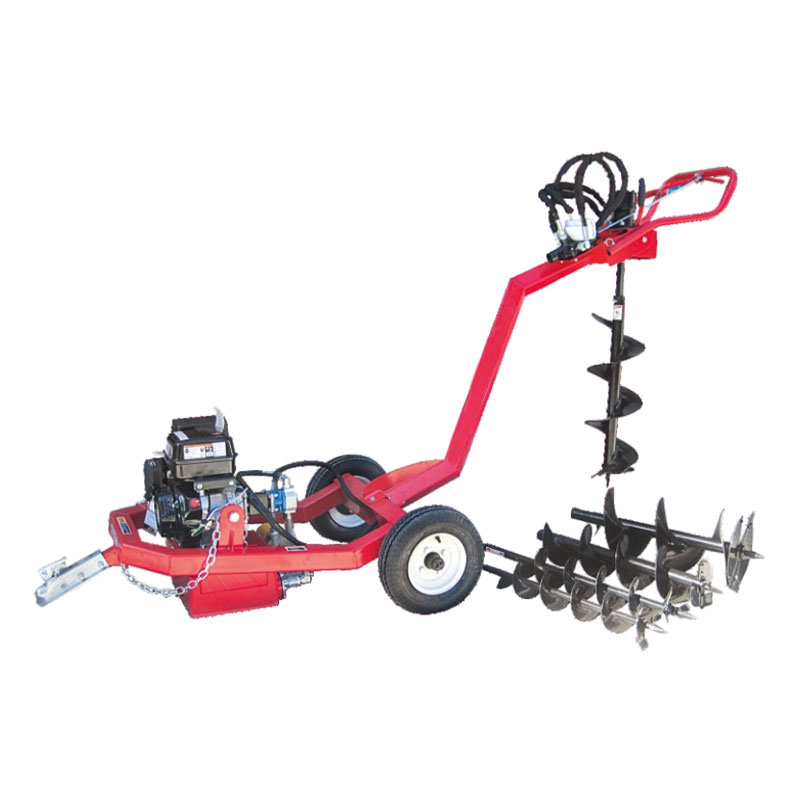
For a homeowner or small farm that needs a portable solution, a gasoline-powered earth auger with an 8-inch bit handles the most common fence-post and planting situations. A model like the 9HP Earth Auger with 8-Inch Bit combines enough torque for standard clay with a footprint small enough to transport in a pickup bed.
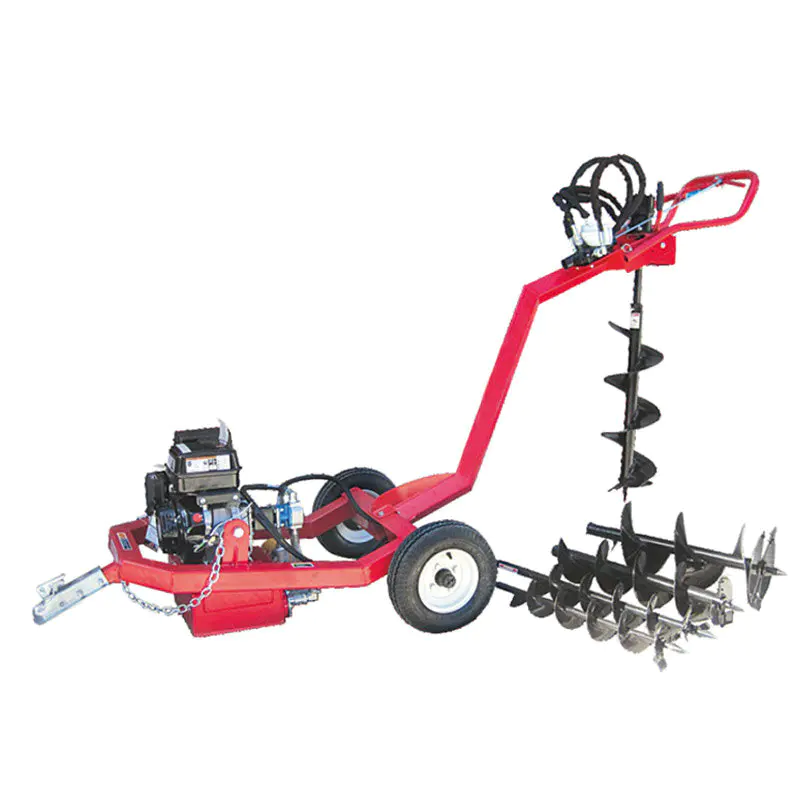 9HP Gasoline Earth Auger with 8-Inch BitThis self-contained earth auger features a 9HP gasoline engine and an 8-inch bit, making it a portable option for digging footing holes, planting trees, or building fences on small farms or properties.View Product →
If you already own a tractor and plan to dig dozens of holes every season, a Three-Point Hitch Post Hole Digger is a more durable route. The tractor's hydraulics deliver steady power and let you handle larger bits and rocky ground without carrying a separate engine.
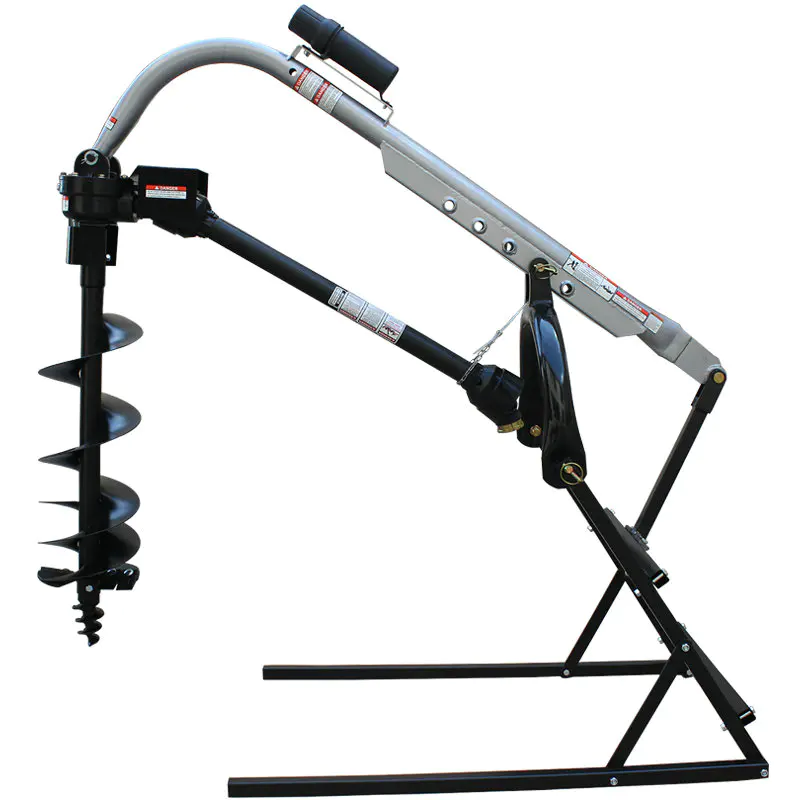 Three-Point Hitch Post Hole Digger for Compact TractorsDesigned for Cat 1 and Cat 2 tractors, this PTO-driven digger provides steady hydraulic power for repeated hole digging, with a shear bolt to protect the driveline and separate auger sizes available.View Product →
Soil condition changes the choice more than any other variable. Sandy loam drives easily with any power source. Compacted clay asks for a lower bit speed and more torque. Rocky soil calls for a pilot point that can locate a center line before the full bit engages, otherwise the bit wanders and makes an oversized, irregular hole. Understanding why earth augers improve soil aeration can also help you anticipate how a bit behaves in your local ground type, and that knowledge is directly useful when choosing a bit for planting or fence rows.
Step-by-Step: How to Dig Holes with an Auger Like a Pro
Here is the standard workflow that keeps holes straight, prevents binding, and protects your back. Go slow on the first pass, and treat each 3-inch cutting depth as a separate operation.
- Mark the hole and check for underground utilities before breaking ground. This is not optional.
- Align the bit squarely over the center and start at low speed. Let the pilot point bite into the soil before you apply any downward pressure.
- Drill down about 3 inches, then lift the bit slightly to clear the cuttings. Repeat this pattern until you reach the depth you want.
- If you hit a stone or hard compacted layer, keep the speed low and let the bit cut rather than jam. Forcing only creates a chattering motion that damages both the bit and the engine.
- Finish the hole by lifting the auger fully and checking the walls. A clean, straight hole gives your post or plant the best possible start.
For fence work, the sizing rule is straightforward: use a bit at least 4 inches wider than the post width, and dig the hole deep enough to place the post well below the frost line. A common field standard recommends depth equal to about one-third of the post length plus an extra 6 inches. If a 6-foot fence post needs a 24-inch hole, a bit around 8 to 10 inches is usually correct for a standard 4x4 or 5-inch round post.
Digging Holes in Real Applications: Fence, Planting, and Foundations
Not every hole is the same. The correct depth, diameter, and cleanup method depend on what goes into the hole.
Fence post holes
These require a hole slightly wider than the post, a flat bottom, and enough depth for concrete or gravel drainage. The typical range is 8 to 12 inches in diameter and 24 to 36 inches deep. Use 8-inch bit for light fencing, 10-inch bit for heavier panels, and 12-inch bit for large timber gates.
Tree and shrub planting holes
The diameter should be about twice the width of the root ball, while the depth should stay slightly short of the root-ball height. If you dig too deep, the tree can settle and suffocate the root flare. An auger with a 10 to 18-inch bit gives you a wide, loose-sided hole that new roots can spread into quickly.
Foundation, deck, and equipment piers
These call for larger diameters and often need a two-stage approach. Drill a pilot hole first, then use an extension or a second pass with a wider bit to enlarge the opening. This reduces the load on the auger and keeps the hole closer to the specified diameter.
Common Mistakes That Slow Down Auger Hole Digging
Most people blame the machine, but the real problem is usually the method. Here are the five mistakes that cost the most time on the job.
- Forcing the bit downward. Pushing harder does not dig faster. It compacts the soil, raises engine load, and increases the risk of the auger sticking.
- Digging one deep pass. If you run the full depth in one go, cuttings pack around the shaft and the auger cannot lift them. Break the dig into shallow passes.
- Ignoring bit condition. A dull or bent flight will produce an undersized hole or drift off center. Check the edge before a long day.
- Standing too close. An auger can throw rocks and clods out of the hole at high speed. Keep non-operators well away from the work area.
- Skipping the pilot point. On hard soil, the helix grabs dirt unevenly and the bit wanders. A pilot point allows the auger to find a consistent center before you apply full torque.
Field rule: if the engine sound drops, release the downward pressure and let the bit clear the hole. Ten seconds of letting the auger clean itself will save ten minutes of unjamming later.
Frequently Asked Questions About Auger Hole Digging
Q1: What auger bit size is best for 4x4 fence posts?
An 8-inch bit is the standard choice. It gives you about 2 inches of clearance on each side of a 4x4, which is enough for concrete backfill while still keeping the hole compact and stable.
Q2: Can an earth auger handle rocky or clay soil?
Yes, but the technique changes. For clay, run a slower speed and keep the bit sharper, because compacted clay tends to glaze over and block the flight. For rocky soil, drill a shallow pilot hole first and inspect the material before proceeding.
Q3: How deep should fence post holes be?
As a general rule, dig to one-third of the post length plus about 6 inches. Check your local frost line as well. This prevents post heave and keeps the fence stable during freeze-thaw cycles.
Q4: Is a PTO-driven post hole digger worth it for a small farm?
If you already own a tractor and have more than a few dozen holes per season, yes. The tractor supplies consistent hydraulic torque and saves the cost of a separate engine. For a smaller property with only occasional work, a portable gasoline auger is usually the better investment.
Q5: How do I keep the bit from drifting off center?
Start with the pilot point at low speed and hold the engine steady as it bites. Do not lean against the machine while it spins. A slight vertical alignment check after the first 2 inches will catch any drift early.
Final Buying Advice: Match the Auger to Your Real Workload
The right decision is not about buying the strongest unit on the shelf. It is about matching output to your actual work volume. Estimate your average hole diameter and daily hole count, then choose accordingly.
For a home property with 10 to 15 holes per year, a rented or compact gasoline auger is enough. For a small farm where you dig 30 to 50 holes per season, a 9HP unit with an 8-inch bit gives you the balance of speed and portability. If your workload regularly exceeds 100 holes, or if you are working in heavy clay or rocky ground, the PTO or larger hydraulic approach will save more time than the extra cost.
Keep this selection logic in mind when you talk to a supplier. Bring your soil type, expected hole diameter, and daily volume. A professional can help you choose a bit and power combination that matches the terrain instead of simply upselling the biggest engine. If you have questions about a specific project, contact our team for the technical guidance that fits your fence line or planting plan.
PREV:Compact Log Splitter Buyer's Guide: Size, Power, Storage, and Safety for Small Properties
NEXT:What Does a Stump Grinder Look Like and How Does It Compare to an Earth Auger for Land Clearing?
NEXT:What Does a Stump Grinder Look Like and How Does It Compare to an Earth Auger for Land Clearing?
Interested in cooperation or have questions?
Related products
-
-

◆MODEL NO.: SP48103 ◆9HP GASOLINE ENGINE ◆IT IS TO DIG FOOTING HOLES, ...
See Details -
● Vertical operation position only● Hardened steel wedge● 43.3”/ 110cm...
See Details -
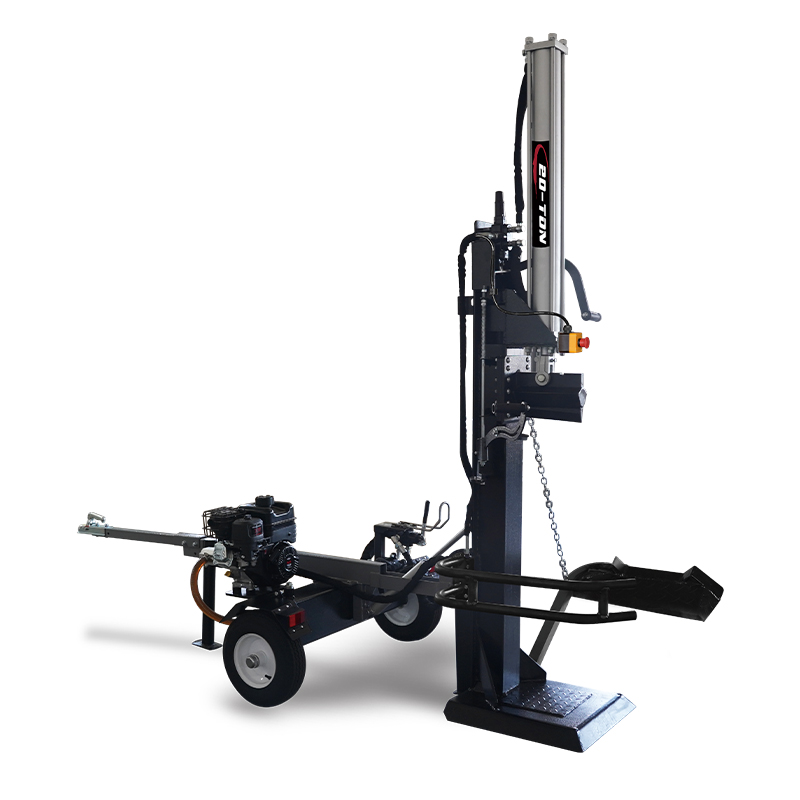
● Vertical operation position only● Hardened steel wedge● 43.3” /110cm...
See Details -
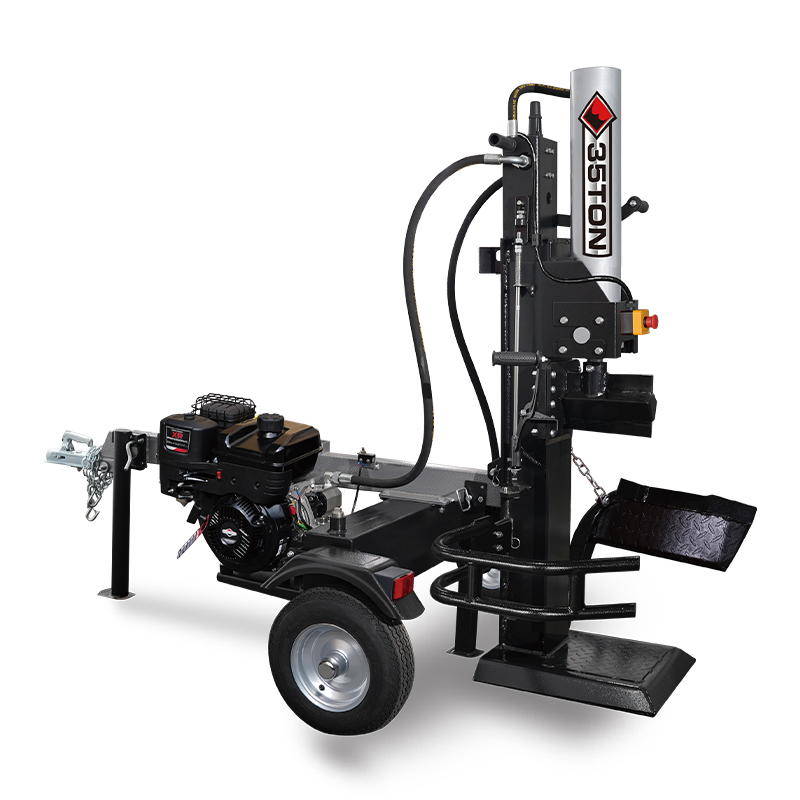
● Vertical operation position only● 10” Hardened steel wedge● 24.4” / ...
See Details