 LANGUAGE
 English
 Deutsch
 Español
 Français
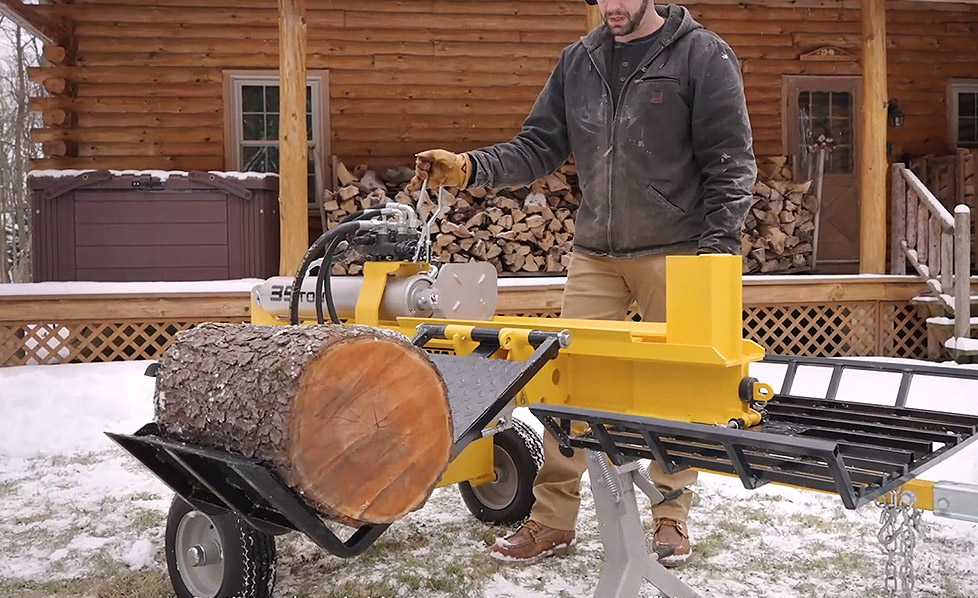
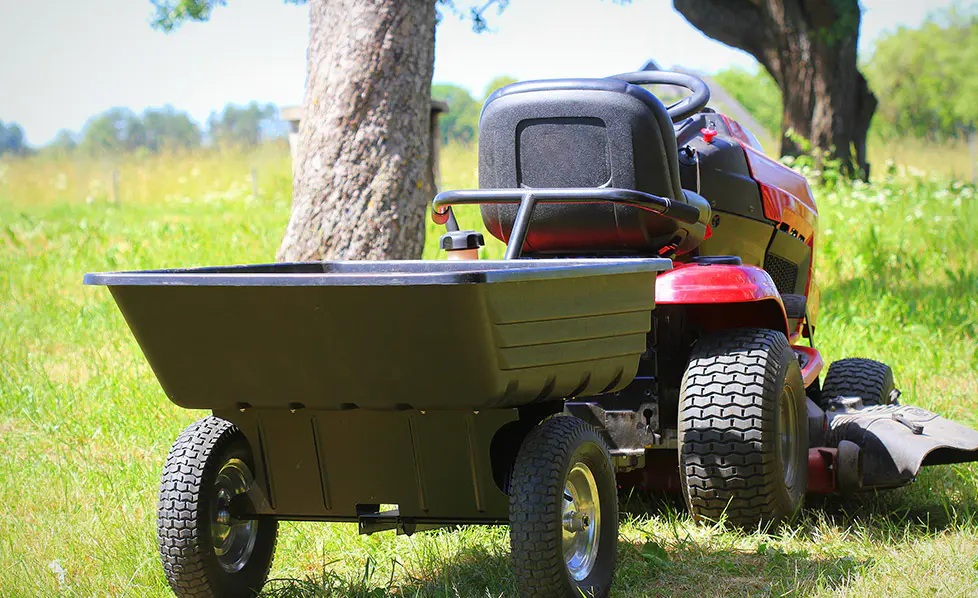


DESCRIPTION 14Ton 3PT log splitter attaches to Category 1 tractor 3-pt...
See Details
Why Build Your Own Hydraulic Log Splitter? A Practical Comparison vs. Buying and DIY Construction Blueprint
1. Introduction: Why Self-Build a Hydraulic Log Splitter?
Heating with firewood or managing acreage demands an efficient way to split logs. While store-bought machines work, building your own log splitter offers unmatched customization, cost control, and deep mechanical satisfaction. A properly engineered hydraulic splitter can outperform many commercial units because you select every component — from cylinder tonnage to wedge geometry. This guide delivers a complete roadmap: from log splitter blueprints to final weld inspection, using real-world data and proven construction methods.
KEY INSIGHT
Based on user-built projects, a 25-ton hydraulic splitter built with scrap steel and a reputable 2-stage pump costs roughly 40-50% less than an equivalent ready-made machine, while providing equal or greater durability. This guide focuses on building a log splitter that handles hardwoods like oak, hickory, and beech without bogging down.
Before welding the first joint, you need a clear set of diy log splitter plans. This article covers everything from hydraulic circuit design to structural integrity, safety testing, and optional upgrades. Whether you choose a log splitter build kit or fabricate from scratch, you will find detailed specifications, force calculations, and step-by-step instructions.
2. Core Components of a Hydraulic Log Splitter
Any reliable splitter relies on eight major subsystems. Understanding each part helps you avoid mismatched parts and premature failures. Below is a practical overview of the essential hardware.
2.1 Hydraulic Cylinder (The Muscle)
Choose a cylinder with 4 to 5 inch bore diameter for 20-30 tons of splitting force. Stroke length typically ranges from 24 to 30 inches to process long rounds. High-quality tie-rod cylinders are preferred for field repairability.
2.2 Hydraulic Pump & Valve
A two-stage pump (high flow at low pressure, low flow at high pressure) gives fast ram approach and powerful splitting. 11 GPM to 16 GPM pumps coupled with a 5 HP engine or 3 kW electric motor are common. The control valve must be a spring-centered, detent-return type with auto-cycle capability.
2.3 Frame & Beam Structure
The backbone is typically heavy I-beam (6x6 inches or larger, web thickness at least 0.25 inch). Many successful homemade log splitter frame designs use W6x12 or W8x15 steel beams with reinforced web plates at the cylinder mounting area.
| Component | Recommended Spec (25-ton design) | Role |
|---|---|---|
| Hydraulic cylinder | 4.5" bore x 28" stroke, 3000 PSI rating | Splitting force generation |
| Two-stage pump | 16 GPM (low pressure stage), 3.5 GPM (high) | Speed & power balance |
| Engine / motor | 6.5 HP gas or 3 kW electric | Power source for pump |
| Control valve | 20-25 GPM rated, auto-return detent | Directional flow & safety |
| Hydraulic tank | 10-15 gallon, baffled | Oil reservoir & cooling |
For those looking to reduce fabrication time, a log splitter build kit supplies the pre-cut beam, wedge, and cylinder mount. However, many experienced builders prefer custom dimensions for specialized log lengths or vertical operation.
3. Sizing Your Hydraulic System – Force, Flow & Cycle Time
Correct sizing separates frustration from flawless operation. The required splitting force depends on wood species and diameter. Field data indicates that a 18-20 ton force splits 90% of residential hardwoods, while 25-30 tons handles knotty rounds and large diameter oak. The formula for theoretical force: Force (lbs) = PSI × Cylinder Area (sq in). For a 4.5” bore cylinder (area ~15.9 sq in) at 2750 PSI, force reaches ~43,700 lbs (~21.8 tons).
CYCLE TIME EXAMPLE
With a 16 GPM two-stage pump and 4.5” bore cylinder, the advance speed (low pressure) is roughly 4.5 inches per second. Total cycle (extend + retract) for a 24” stroke takes ~12-14 seconds, which aligns with efficient firewood production.
Higher flow pumps reduce cycle time but require larger engine power. For a custom log splitter design aimed at heavy daily use, use at least a 5 HP gas engine for 11 GPM, or 7-8 HP for 16 GPM. Electric motors provide quiet operation but need 220V circuits above 2 kW.
Matching Reservoir Capacity
A general rule: reservoir capacity (gallons) = 2-3 × pump GPM. For a 16 GPM pump, aim for 12-15 gallons to ensure adequate cooling and deaeration. Include a suction strainer and return-line filter to keep oil clean.
4. Frame Engineering & Material Selection (with SVG Diagram)
The beam must resist bending under full tonnage. Most successful log splitter blueprints use an I-beam with web stiffeners at the cylinder mount and wedge slide. Builders often salvage heavy truck axle beams or new H-section steel. Minimum flange width: 4 inches. Thickness: 0.375 inch or more. The wedge is typically made from 1-inch AR400 or standard mild steel with a hardened cutting edge.
Typical structural layout for homemade log splitter frame showing I-beam, cylinder mounting bracket, wedge slide, and splitting area. Keep web reinforcements at each stress concentration.
When building a log splitter frame, maintain perfect alignment between cylinder axis and wedge slide path. Misalignment causes binding and reduces splitting power. Use a laser level or string lines during tack welding.
Wedge Geometry & Cutting Efficiency
A wedge angle between 12 and 18 degrees offers the best combination of penetration and splitting force. Too narrow (under 10°) leads to sticking, too wide requires higher tonnage. Many diy log splitter plans include a replaceable knife edge made from AR400 or 1080 steel.
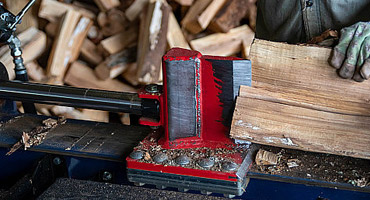
5. Step-by-Step Build: From Raw Steel to Splitting Logs
This sequence reflects proven methodology from hundreds of successful step-by-step log splitter build projects. Always wear PPE and follow welding best practices.
Step 1 — Prepare Beam & Cutting List
Cut I-beam to length (typical 48-60 inches for horizontal splitters). Drill mounting holes for cylinder clevis and pivot brackets.
Step 2 — Weld Cylinder Mount & Wedge Slide
Tack weld the cylinder mount bracket at the rear end and the wedge slide guides along the top flange. Ensure slide moves freely before full welding.
Step 3 — Assemble Hydraulic Power Unit
Mount the pump, engine/electric motor, and reservoir onto a subframe. Use a Lovejoy coupling to connect pump shaft to motor. Install suction hose (1-1/2” ID minimum) and return hose.
Step 4 — Install Valve and Hoses
Mount the control valve near the wedge area. Use 1/2” hydraulic hoses with appropriate working pressure (4000 PSI burst rating). Connect cylinder ports with swivel elbows.
Step 5 — Hydraulic System Filling & Bleeding
Fill reservoir with AW32 or AW46 hydraulic oil. Cycle cylinder without load to purge air — check for steady motion.
Stick welder (7018 rods) Angle grinder Clevis pins Flow meter (optional) Pressure gauge T-adaptor Pipe wrench & flare nut crowfoot
For a log splitter kit route, many of these fabrication steps are reduced to assembly, but you still need to check valve alignment and cylinder centering.
6. Power Source Options: Gasoline vs. Electric vs. Tractor PTO
Each power source changes mobility and noise. Gas engines (5-8 HP) dominate off-grid builds. Electric motors (3-5 kW, 220V) require mains but run quietly indoors. PTO-driven splitters use tractor hydraulics and are ideal for farms.
| Power Source | Typical HP/kW | Best For | Cycle time (24" stroke, 16GPM) |
|---|---|---|---|
| Gas engine OHV | 6.5 HP | Portable, remote areas | 10-12 seconds |
| Electric induction motor | 3.7 kW (5 HP) | Workshop, low noise | 13-15 seconds |
| Tractor PTO/hydraulics | 20+ HP PTO | Continuous farm use | 8-10 sec (if flow 20+ GPM) |
If you prioritize speed, a two-stage pump with a 7 HP engine yields excellent productivity. However, always install an engine RPM governor to maintain pump input speed around 3600 RPM (or 1800 RPM for direct-drive electric).
7. Testing Procedures & Safety Protocols
Before splitting the first log, verify the system under controlled conditions. Use a pressure gauge at the pump outlet to confirm relief valve setting (recommended max 2500-2800 PSI for most cylinders). Operate the valve without wood to check for leaks. Next, perform a "stall test" against a solid block and read peak pressure — it should not exceed cylinder rating.
SAFETY MUST-HAVES
Always include a two-handed valve operation or a safety guard above the splitting wedge. Many log splitter construction guide references highlight that logs can shoot debris; install a deflection shield over the beam. Never bypass the hydraulic relief valve.
After testing, inspect all weldments for cracks. Retorque bolts and check hydraulic fittings. A well-built DIY splitter that follows sound engineering principles will last decades with routine maintenance.
8. Choosing a Log Splitter Build Kit vs. Full Fabrication
For builders who lack a plasma cutter or heavy-duty drill press, a log splitter build kit provides pre-cut beam, wedge, axle, and sometimes hydraulic components. Kits cut fabrication time by 60-70%, but you may sacrifice custom features such as adjustable wedge height or log lift. On the other hand, a completely custom log splitter design allows you to integrate a hydraulic log lift, auto-cycle valve, or even a four-way wedge. Evaluate your workshop capabilities before deciding.
Many first-time builders choose a hybrid approach — a kit for the main beam and wedge, plus individual pump/cylinder upgrades. Whatever route you take, refer to reliable log splitter blueprints for dimension references.
9. Advanced Custom Design Features & Ergonomic Upgrades
Once your base splitter works, consider enhancements: vertical split mode for large rounds (rotating beam or cylinder mount), hydraulic log lift, and a towable axle kit. Another upgrade is adding a wedge extension to split multiple pieces in one stroke. Using a simple flow divider can control cycle speed for knotty wood.
For those who intend to process high volumes, a how to make a log splitter plans version with a 30+ ton cylinder and 2.5” diameter rod ensures faster retract speed. Document your modifications to assist other builders in the community.
Remember that every upgrade adds weight — ensure your beam and axle can handle extra loads.
10. Frequently Asked Questions (FAQ)
Q1: What is the cheapest way to build a hydraulic log splitter?
Using a reclaimed I-beam, a used tie-rod cylinder, and a 5HP gas engine from a pressure washer can drastically lower costs. Many builders find components via surplus equipment sites. Expect $400-$700 if you source parts patiently, excluding new hoses and pump.
Q2: Do I need professional welding skills to build a splitter?
Yes, structural welds on the cylinder mount and wedge require competence with stick or MIG welding. Poor welds can lead to catastrophic failure at 20+ tons. For safety, have experienced welder inspect critical joints.
Q3: How many tons should my DIY splitter have?
For mixed softwoods 20-22 tons is adequate. For knotty oak or large diameter (over 18 inches), aim for 25-30 tons. A 30-ton cylinder provides a comfortable margin without oversizing pump.
Q4: Where can I find reliable log splitter blueprints?
Free resources include university extension welding guides, online DIY forums, and mechanical drawing repositories. Many successful building a log splitter stories include detailed sketches with dimensions. Always cross-check force calculations.
Q5: Can I use a log splitter kit and modify it later?
Absolutely. Many builders start with a basic log splitter kit and later add a log cradle, hydraulic filter, or larger tank. Make sure modifications do not weaken the main beam.
Q6: How long does a typical DIY build take?
Depending on parts availability and fabrication skills, 40-80 hours of work. A kit reduces welding hours to around 20-30 hours.
PREV:What is the Best Hydraulic Pump for Your Log Splitter? Selection and Troubleshooting Guide
NEXT:Why Is Your Hydraulic Log Splitter Losing Power: A Complete Diagnostic and Repair Guide
NEXT:Why Is Your Hydraulic Log Splitter Losing Power: A Complete Diagnostic and Repair Guide
Interested in cooperation or have questions?
Related products
-

-

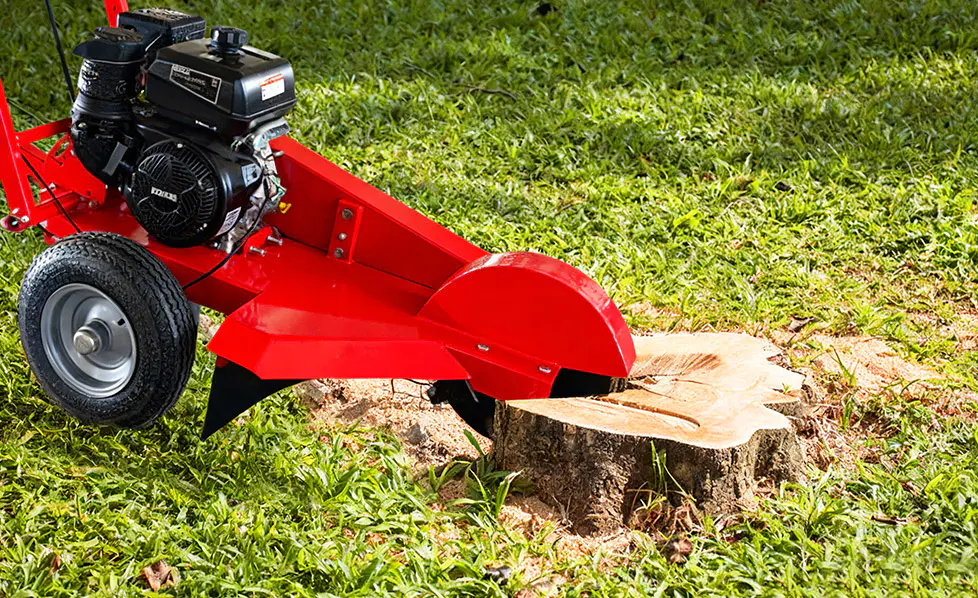
DESCRIPTION Model no.: LSE 14Max. splitting force: 14TonMax. log lengt...
See Details -

◆MODEL NO.: SP48103 ◆9HP GASOLINE ENGINE ◆IT IS TO DIG FOOTING HOLES, ...
See Details -

MODEL NO. : SP35321 2 spring-loaded handles for fast and easy attachme...
See Details -

● 2 spring-loaded handles for fast and easy attachment and release of ...
See Details -

◆MODEL NO.: SP31202 ◆40 REPLACEABLE CORING POINTS ◆SINGLE-HAND LIFT LE...
See Details
